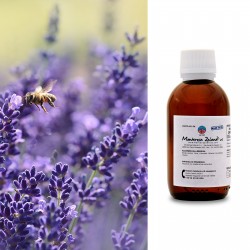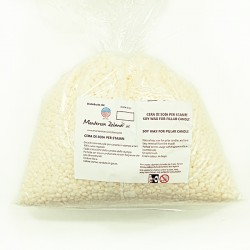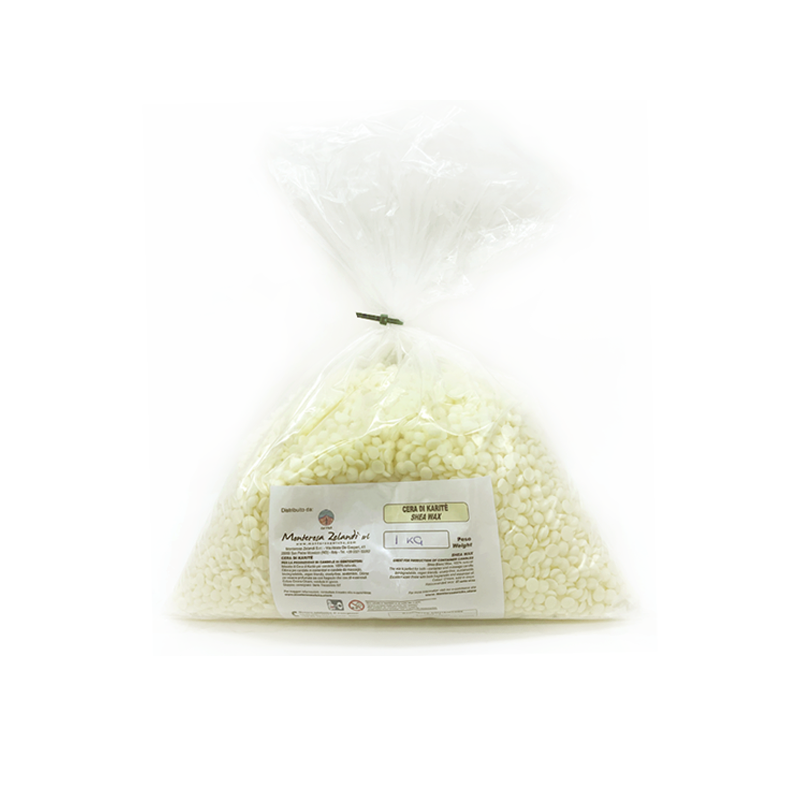
Shea wax and vegetable oils in drops, 100% natural, for scented container candles and massage candles.
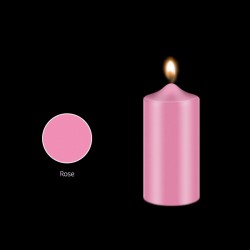
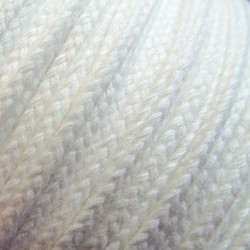
This wax has a smooth finish and white colour with very delicate light beige shades. Suitable for use with candle dyes and fragrance oils.
It is not tested on animals, vegan friendly, the ingredients of the wax are GMO-free and pesticide-free. The wax is biodegradable.
It is easy to use, which makes it perfect for both those who are new to the world of candles, and for those who have already gained a lot of experience in this field.
For advice on the use and the recommended percentage of candle dyes and fragrances, please refer to the additional information at the bottom of the page.
Recommended wick / candle diameter (in mm):
diameter 50 - 55 mm*: ST 21/12 – ST 24/14
diameter 55 – 60 mm*: ST 24/14 – ST 27/16
diameter 60 - 65 mm*: ST 30/18 – ST 33/22
diameter 65 – 70 mm*: ST 33/22 – ST 36/24
diameter 70 – 80 mm*: ST 36/24 – ST 39/26
* These measurements are based on tests carried out in the laboratory using vegetable waxes free of fragrances and / or dyes and are to be considered as simple suggestions. Testing is the only way to perfectly match wicks and waxes. If the flame is too strong for the candle, it can create the candle smoke. In this case we recommend to reduce the wick size.
METHOD OF USE
RECOMMENDED MELTING TEMPERATURE: 75 °C
ADD CANDLE DYES AT: 70-75 °C
ADD FRAGRANCE OILS AT: 60-65 °C
POUR THE WAX AT: 50-55 °C (it may vary according to the room temperature, candle shape and presence of fragrances and dyes. Changing the pour temperature by 5-10 degrees during the preliminary tests can be helpful to find the perfect combination for your products
Step 1: Melt the wax - The wax should be heated to a temperature of about 75 °C. Do not melt the wax at a temperature above 90 °C. In case of exposure to too high temperatures for prolonged times the wax will tend to discolour. Mix slowly with a spatula (try not to incorporate air into the wax). Avoid using tools that contain copper and zinc as they may cause a partial discoloration of the wax. Choose digital thermometer.
Step 2: Add candle dyes or fragrances - Once the wax has melted completely, add dyes and / or fragrances at 70-75 °C . Always stir the mixture to ensure complete absorption. Add fragrance oils at 65 °C. Mix thoroughly and make sure that the fragrance oil dissolves completely. If the fragrance forms lumps, heat the mixture once again. Recommended percentage of fragrance oil: 6-8%. Recommended percentage of dye: 0.4%.
Step 3: Prepare the container and pour the wax – For a perfect result, the container should be heated to 45-50 °C. We also recommend placing it onto a warm surface far from cold. Make sure the container is perfectly clean. Insert the wick of your choice and pour in the wax slowly. Fix the wick and leave the candle to cool.
Step 4: Cooling and extraction – Let the candle cool in a room with a stable temperature (ideally: 25 °C). Let the candle cool until its complete solidification. Let it stand for at least 48 hours before lightening. It is possible to prolong the term up to 1-2 weeks for better results.
N.B. If poured too hot, the wax could create frosting or holes that would damage the surface of the candle. In this case, it is possible to use the heat gun or to pour another amount of wax to cover the unevenness of the candle surface.
Data sheet
You might also like